There’s something truly timeless about a slice of cherry pie. Sweet, tart, gooey cherries nestled in a flaky, golden crust—it’s as comforting as it is celebratory. Whether you’re baking for the 4th of July, a family reunion, or just because cherries are in season, a homemade cherry pie hits the mark every time.
In this all-inclusive article, we’ll explore everything from how to choose your cherries and make the perfect crust, to how to thicken the filling just right and keep that bottom crust from turning soggy. If you’ve ever wondered how to make a cherry pie that wows—this 5,000+ word guide is for you.
Table of Contents
- Why Cherry Pie Is a True Classic
- Ingredients: What You’ll Need
- Choosing the Right Cherries
- Homemade vs. Store-Bought Crust
- How to Make Cherry Pie Filling
- How to Assemble the Perfect Pie
- Baking Tips and Tricks
- Cherry Pie Variations
- Common Mistakes to Avoid
- Serving and Storing Cherry Pie
- Frequently Asked Questions (FAQs)
- Conclusion
1. Why Cherry Pie Is a True Classic
Cherry pie has been a staple in American kitchens for generations. It’s a nostalgic, crowd-pleasing dessert that’s as at home at a summer picnic as it is at a holiday dinner. While apple pie might claim the throne, cherry pie wins hearts with its juicy, tart filling and bright red appeal.
2. Ingredients: What You’ll Need
For the Filling:
- Cherries (fresh or frozen, sweet or tart)
- Sugar
- Cornstarch or tapioca starch (for thickening)
- Lemon juice
- Almond or vanilla extract (optional)
- Salt
For the Crust:
- All-purpose flour
- Unsalted butter (cold and cubed)
- Salt
- Ice water
Optional:
- Egg wash (egg + water or milk for brushing the crust)
- Coarse sugar for sprinkling
3. Choosing the Right Cherries
Tart vs. Sweet Cherries:
- Tart (sour) cherries like Montmorency are ideal for baking. They offer a bold, tangy flavor that balances well with sugar.
- Sweet cherries (like Bing) work too, but you’ll need to reduce the added sugar.
Fresh vs. Frozen:
- Fresh cherries offer unbeatable flavor but require pitting.
- Frozen cherries are convenient—just thaw and drain well before using.
- Canned cherries in water or juice can be used in a pinch, but avoid pre-made pie filling if you want control over sweetness and texture.
4. Homemade vs. Store-Bought Crust
A homemade pie crust can elevate your cherry pie from good to exceptional. Here’s why:
Homemade Benefits:
- Better flavor
- Flakier texture
- Total control over ingredients
If you’re short on time, a store-bought crust can be acceptable—but make sure it’s a quality, buttery option.
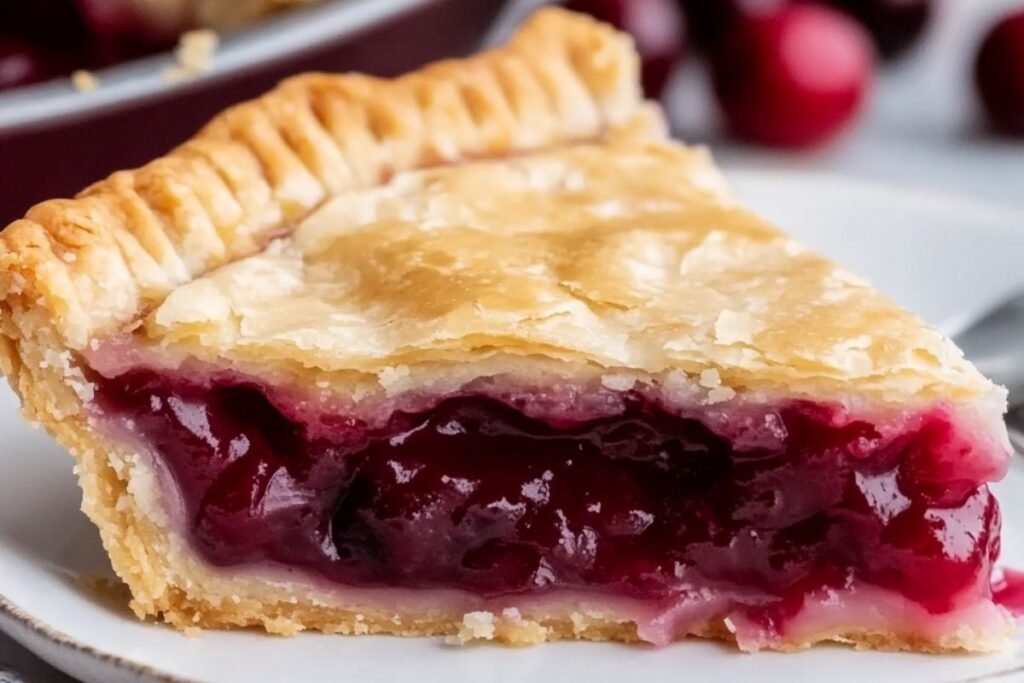
5. How to Make Cherry Pie Filling
Basic Recipe for Cherry Pie Filling:
Ingredients:
- 4 cups pitted cherries
- ¾ cup granulated sugar (adjust to taste)
- ¼ cup cornstarch
- 1 tbsp lemon juice
- 1 tsp vanilla or almond extract
- Pinch of salt
Instructions:
- Combine cherries, sugar, cornstarch, lemon juice, and salt in a saucepan.
- Bring to a simmer, stirring often, until thickened (5–8 minutes).
- Stir in vanilla or almond extract.
- Let cool before adding to pie shell.
Pro tip: Use a slotted spoon to transfer filling if it seems too runny—this helps prevent a soggy crust.
6. How to Assemble the Perfect Pie
Step-by-Step:
- Preheat oven to 400°F (200°C).
- Roll out bottom crust and place in a 9-inch pie dish.
- Add cooled cherry filling.
- Roll out top crust. Cut into strips for a lattice or place whole and cut slits for steam.
- Crimp edges to seal.
- Brush with egg wash and sprinkle with sugar.
- Place on a baking sheet (for spills!) and bake 40–50 minutes.
Hint: Cover edges with foil if browning too fast.
7. Baking Tips and Tricks
- Use cold butter and ice water for the flakiest crust.
- Chill the dough before rolling and after shaping.
- Vent the top crust to release steam and avoid sogginess.
- Check doneness by watching the filling bubble through slits or lattice.
8. Cherry Pie Variations
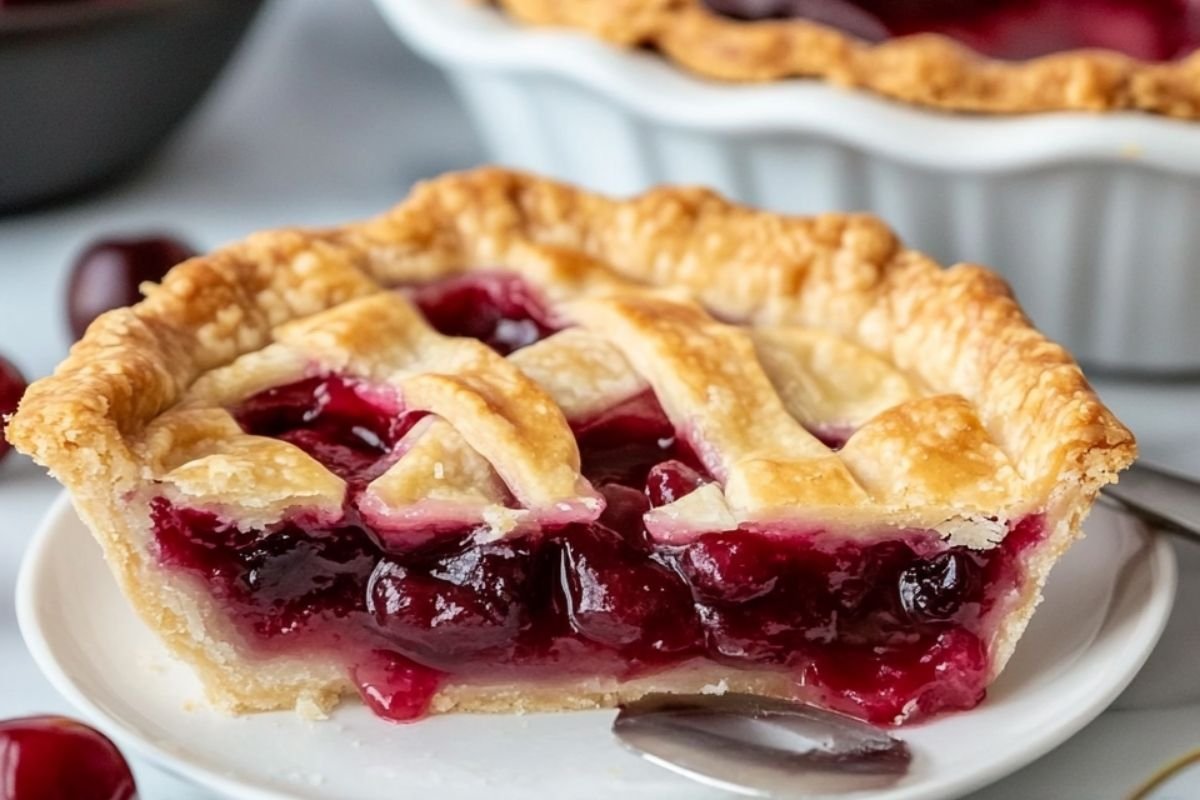
1. Lattice Top Cherry Pie
- Classic design that looks stunning and lets steam escape.
2. Crumb-Topped Cherry Pie
- Swap the top crust for a streusel made from flour, butter, and brown sugar.
3. Chocolate Cherry Pie
- Add mini chocolate chips to the filling or drizzle melted chocolate on top.
4. Spiced Cherry Pie
- Mix in cinnamon, cardamom, or ginger for a cozy twist.
5. Cherry Berry Pie
- Combine cherries with raspberries or blueberries for a mixed fruit flavor.
9. Common Mistakes to Avoid
- Not thickening the filling enough: Leads to soupy pie.
- Overworking the dough: Results in tough crust.
- Skipping blind baking (if needed): Can lead to undercooked bottom crust.
- Using too much liquid from thawed cherries: Always drain well.
- Cutting too soon: Let the pie cool at least 2 hours to set.
10. Serving and Storing Cherry Pie
Serving Tips:
- Best served slightly warm or at room temperature.
- Add a scoop of vanilla ice cream or dollop of whipped cream.
Storing:
- Room temp: 1–2 days, covered.
- Fridge: Up to 4–5 days.
- Freezer: Cool completely, wrap tightly, and freeze for up to 3 months.
To reheat, warm slices in a 300°F oven for 10–15 minutes.
11. Frequently Asked Questions (FAQs)
Q: Can I use canned cherry pie filling?
Yes, but making your own gives better flavor and texture.
Q: How do I keep the bottom crust from getting soggy?
Pre-bake it (blind baking), drain cherry juice, and use a slotted spoon to add filling.
Q: What’s the best thickener for cherry pie?
Cornstarch is classic, but tapioca starch or flour also work.
Q: Can I make cherry pie ahead of time?
Yes! Make and refrigerate up to 2 days in advance or freeze fully baked.
Q: What’s the difference between tart and sweet cherries?
Tart cherries are brighter and better for baking. Sweet cherries need less sugar.
Q: How long should I cool the pie before slicing?
At least 2–3 hours to allow the filling to set.
Q: Why is my cherry pie runny?
It likely didn’t cook long enough or didn’t cool fully.
12. Conclusion
Cherry pie is more than a dessert—it’s a tradition, a memory, and a showstopper all in one. Whether you’re baking with fresh cherries in July or frozen ones in February, this pie delivers juicy, sweet-tart flavor wrapped in golden, buttery crust.
With a handful of ingredients, some care, and this comprehensive guide, anyone can master the art of homemade cherry pie. So roll out your dough, pit those cherries, and create a dessert that never fails to impress.