Banana ice cream is a timeless classic—rich, creamy, and bursting with natural banana flavor. Whether you’re looking for a healthier dessert alternative, a fun way to use up ripe bananas, or just a homemade ice cream recipe that rivals store-bought varieties, this homemade banana ice cream is exactly what you need. In this comprehensive guide, we’ll walk you through the steps, tips, and tricks to achieve the perfect banana ice cream from scratch.
Why Make Homemade Banana Ice Cream?
There are plenty of reasons to opt for homemade banana ice cream instead of buying it from the store:
- Better Ingredients – You control what goes in, ensuring no artificial flavors or preservatives.
- Customizable – You can tweak the flavor, sweetness, and texture to your preference.
- Cost-Effective – Making ice cream at home can be cheaper than premium store-bought options.
- No-Waste Recipe – A great way to use up overripe bananas that would otherwise go to waste.
Ingredients for Homemade Banana Ice Cream
To make this creamy banana ice cream, you’ll need the following ingredients:
- 1 cup whole milk
- ¾ cup granulated sugar
- 2 cups heavy cream
- 1½ teaspoons pure vanilla extract
- 1½ cups mashed ripe bananas (about 4 medium bananas)
The Role of Each Ingredient
- Whole milk – Provides a rich, creamy texture.
- Granulated sugar – Sweetens the ice cream and helps with texture.
- Heavy cream – Adds extra creaminess and richness.
- Vanilla extract – Enhances the flavor profile.
- Ripe bananas – The star ingredient, adding natural sweetness and creaminess.

Step-by-Step Instructions to Make Banana Ice Cream
Step 1: Prepare the Custard Base
- In a medium saucepan over medium heat, warm the whole milk until it starts to steam. Do not let it boil.
- In a separate bowl, whisk together the granulated sugar and egg yolks until the mixture turns pale and thick.
- Slowly pour the warm milk into the egg-sugar mixture, whisking constantly to avoid curdling.
- Return the mixture to the saucepan and cook over medium heat, stirring continuously, until it thickens slightly. The custard should coat the back of a spoon but should not boil.
Step 2: Combine with Cream and Flavorings
- Remove the custard from heat and strain it through a fine-mesh sieve to remove any lumps.
- Stir in the heavy cream and vanilla extract.
- Allow the mixture to cool to room temperature, then cover and refrigerate for at least 4 hours or overnight.
Step 3: Incorporate Bananas and Churn
- Once the custard base is fully chilled, whisk in the mashed bananas until smooth and well combined.
- Pour the mixture into your ice cream maker and churn according to the manufacturer’s instructions (typically 20-25 minutes) until it reaches a soft-serve consistency.
Step 4: Freeze and Serve
- Transfer the churned ice cream to an airtight container.
- Press a piece of plastic wrap directly onto the surface to prevent ice crystals from forming.
- Freeze for at least 2-4 hours until firm.
- Before serving, let the ice cream sit at room temperature for a few minutes to soften slightly for easier scooping.
Tips for the Best Homemade Banana Ice Cream
- Use ripe bananas – The riper the bananas, the sweeter and more flavorful your ice cream will be.
- Chill thoroughly – Ensure the custard is completely chilled before churning for a smoother texture.
- Prevent ice crystals – Pressing plastic wrap onto the surface prevents freezer burn.
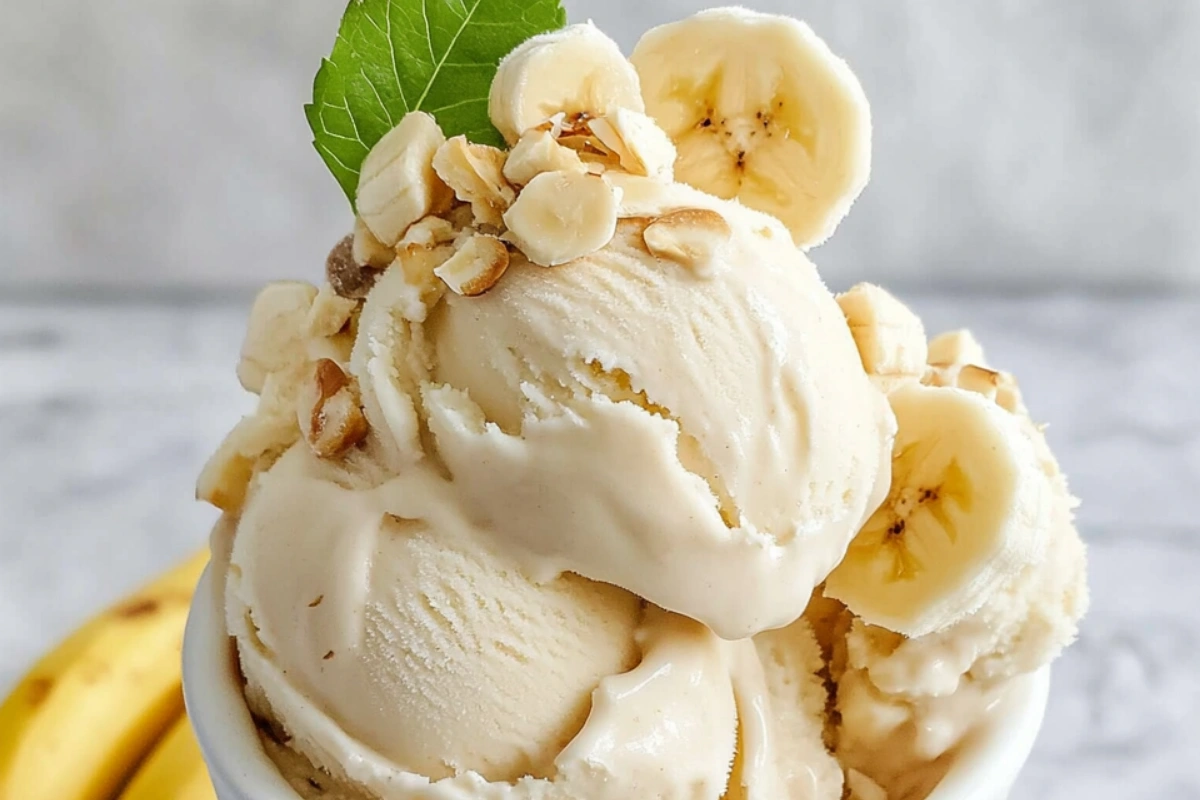
- Experiment with mix-ins – Try adding chopped nuts, chocolate chips, or caramel swirls for extra indulgence.
Flavor Variations
Want to get creative with your homemade banana ice cream? Try these variations:
- Chocolate Banana Ice Cream – Add ¼ cup of cocoa powder or melted chocolate.
- Peanut Butter Banana Ice Cream – Swirl in ½ cup of peanut butter.
- Nutty Banana Ice Cream – Fold in chopped walnuts or pecans.
- Caramel Banana Ice Cream – Drizzle in caramel sauce before freezing.
Frequently Asked Questions
1. Can I make banana ice cream without an ice cream maker?
Yes! Freeze the banana mixture in a shallow dish and stir every 30 minutes until frozen to achieve a creamy texture.
2. How long does homemade banana ice cream last?
Stored in an airtight container, it stays fresh for about 2 weeks in the freezer.
3. Can I use plant-based milk?
Absolutely! Substitute whole milk and heavy cream with coconut milk or almond milk for a dairy-free version.
4. How do I prevent my ice cream from becoming too hard?
Adding a tablespoon of vodka or honey helps keep it softer.
5. Can I make this recipe sugar-free?
Yes! Use a sugar substitute like monk fruit or stevia.
Conclusion
Making homemade banana ice cream is a rewarding and delicious experience. With simple ingredients, an easy process, and the ability to customize flavors, this banana ice cream recipe will become a favorite in your kitchen. Whether you enjoy it plain or with creative mix-ins, this creamy, flavorful treat is perfect for any occasion. Try this recipe today and savor the taste of homemade goodness!