Introduction
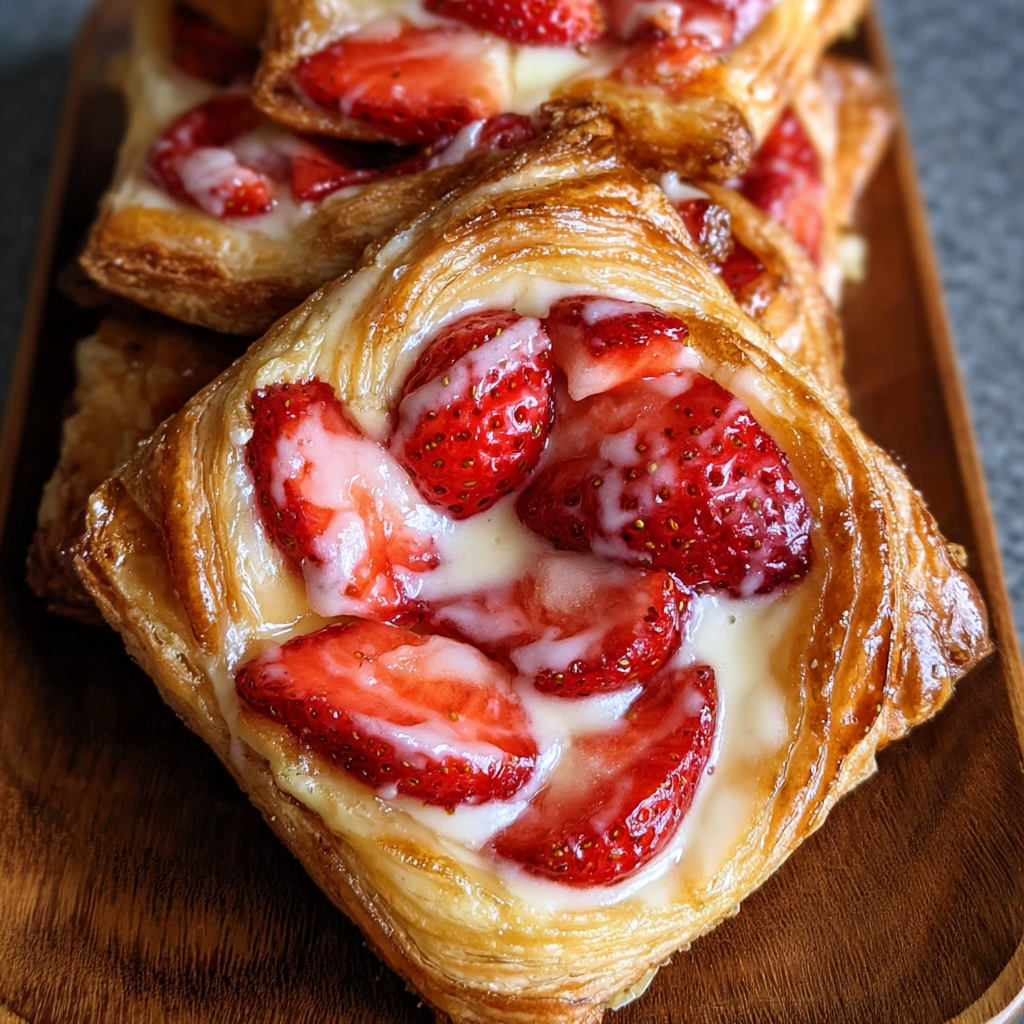
The allure of a freshly baked Danish pastry is hard to resist, especially when infused with the sweet essence of strawberries. This delightful treat combines buttery, flaky layers with a luscious strawberry filling, making it an ideal addition to brunch or an afternoon coffee break.
Creating a strawberry Danish at home may seem daunting, but with the right ingredients and a touch of patience, you can impress family and friends with your baking skills. The delightful contrast between the crisp pastry and the juicy fruit filling will elevate your dessert game.
Whether you’re an experienced baker or just starting, this recipe will guide you through crafting a pastry that is both visually stunning and deliciously satisfying.
Ingredients
- 2 cups all-purpose flour
The foundation of the pastry, all-purpose flour provides the necessary structure and stability. It creates the flakiness essential for a delicious Danish. - 1/2 cup unsalted butter, cold and cubed
Butter enriches the dough, adding flavor and tenderness. Keeping it cold ensures that the layers of dough remain separate and create that coveted flaky texture. - 1 teaspoon salt
Salt enhances the overall flavor of the pastry, balancing the sweetness of the filling and bringing out the rich buttery notes. - 1 tablespoon sugar
This small addition gives a hint of sweetness to the pastry dough, which complements the fruit filling perfectly. - 1/4 cup cold water
Cold water is essential for combining the dough without melting the butter. This ensures the proper flakiness in the final pastry. - 1 cup fresh strawberries, chopped
Strawberries offer a burst of sweetness and tartness, making them the star of the filling. Their juicy nature adds moisture and flavor to the Danish. - 2 tablespoons sugar for filling
Additional sugar for the filling enhances the strawberry’s natural sweetness, allowing the fruit flavor to shine while balancing its acidity. - 1 tablespoon cornstarch
Cornstarch acts as a thickener, helping to create a cohesive filling that won’t leak out of the pastry. It ensures that each bite remains delightful. - 1 egg, beaten (for egg wash)
An egg wash gives the Danish a beautiful golden color while baking. It adds a slight sheen that makes the pastries more appealing. - Powdered sugar for dusting
Adding powdered sugar on top after baking not only enhances the visual appeal but also adds a touch of sweetness to each serving.
Directions & Preparation
Step 1: Prepare the dough by mixing the flour, salt, and sugar in a bowl.
Begin by preparing the dough, which is the base of your Danish. Mixing the dry ingredients first ensures they are evenly distributed, which is crucial for the proper formation of gluten. This stage is where the dough starts to come together, forming the underlying structure of your pastry.
Step 2: Cut in the cold butter until the mixture resembles coarse crumbs.
By cutting in the cold butter, you keep it solid and ensure that it doesn’t fully blend with the flour. This step is essential for creating the flaky layers characteristic of Danish pastries. Aim for a texture that resembles coarse sand, leaving small chunks of butter intact.
Step 3: Gradually add cold water and stir until the dough holds together.
The addition of cold water is crucial for binding the ingredients without warming the butter too much. You want to combine the mixture just enough to form a cohesive ball; overmixing can result in tough pastry. Once the dough holds together, wrap it in plastic wrap and refrigerate.
Step 4: While the dough chills, prepare the strawberry filling.
Make the strawberry filling during the chilling phase to optimize your time. Mixing the chopped strawberries with sugar and cornstarch allows the flavors to meld and the cornstarch to start thickening the mixture. This step ensures a well-seasoned filling that won’t be runny when baked.
Step 5: Preheat your oven to 400°F (200°C).
Preheating the oven is crucial for ensuring that the pastries bake evenly from the start. An adequately preheated oven guarantees the ideal rise and browning, allowing your Danish to achieve the perfect texture and color.
Step 6: Roll out the dough into a large rectangle on a floured surface.
Rolling the dough into a rectangle helps create uniform layers and allows for easy folding later. Ensure you maintain an even thickness to promote consistent baking. Use flour to prevent sticking and achieve a professional finish.
Step 7: Fold the dough into thirds, then refrigerate again for 20 minutes.
Folding the dough is imperative for creating the flaky layers typical of a Danish pastry. Each fold incorporates air between layers, which leads to puffiness during baking. Refrigerating before the next roll keeps the butter cold and manageable.
Step 8: Roll out the dough once more and cut into squares for shaping.
This step allows you to form the classic Danish shape that is both inviting and allows for a generous dollop of filling. The squares should be large enough to hold a good amount of the strawberry mixture while maintaining their structure.
Step 9: Add strawberry filling in the center of each square and fold over corners.
Carefully placing the filling in the center ensures a beautiful presentation. Folding the corners creates a lovely decorative touch and helps contain the filling while baking. Make sure the edges are sealed to prevent leakage.
Step 10: Brush each Danish with the beaten egg and bake for 15-20 minutes until golden.
Applying the egg wash achieves the signature golden color and shiny finish on each pastry. Baking until golden is key for developing flavor through caramelization and ensuring a light and flaky texture. Keep an eye on the pastries towards the end to avoid overbaking.
Step 11: Let cool slightly, then dust with powdered sugar before serving.
Allowing the Danish to cool slightly before dusting with powdered sugar prevents the sugar from melting into the pastry. The final dusting not only enhances flavor but also presents beautifully, making the Danish an irresistible treat to enjoy.

Enhancing Flavor with Vanilla Extract
Incorporating a dash of vanilla extract into the strawberry filling can elevate the overall flavor profile of your Danish. Vanilla adds a warm, aromatic sweetness that beautifully complements the strawberries. Just a teaspoon can transform your pastry from delightful to extraordinary, enhancing each bite with a subtle depth of flavor.
Experiment with Different Fruits
While strawberries are a classic choice, experimenting with other fruits can lead to innovative flavor combinations. Try blueberries, raspberries, or even mixed berries for a burst of color and taste. Each fruit offers unique sweetness and acidity levels, allowing you to customize the recipe according to your preference and seasonal availability.
Creating a Glaze for Extra Indulgence
For an extra layer of indulgence, a simple glaze of powdered sugar and milk can transform your Danish into a decadent treat. Whisk together powdered sugar and a splash of milk until smooth for a delicious topping that adds sweetness and enhances presentation. A drizzle of glaze over your warm Danish not only looks enticing but also contributes to a richer flavor experience.
FAQs
What can I do if my dough is too dry?
If your dough feels dry, gradually add more cold water, one tablespoon at a time, until it holds together better. Ensure you mix gently to avoid overworking the dough.
Why does my strawberry filling seem too thin?
If your filling turns out thin, it may be due to not using enough cornstarch. Ensure that the cornstarch is well-mixed with the strawberries to help absorb moisture during baking.
How can I scale this recipe for a larger batch?
To scale this recipe, simply multiply each ingredient by the desired ratio while keeping the same preparation steps. For example, doubling would mean using 4 cups of flour and 1 cup of strawberries.
My Danish turned out bland; how can I improve the flavor?
If your Danish lacks flavor, consider enhancing both the pastry dough and the filling with additional sugar or a pinch of salt. Also, adding spices like cinnamon or nutmeg can elevate the overall taste.
What should I do if my Danish are overcooked?
If your pastries are overcooked, they may be too tough or dry. Next time, watch the baking time closely, particularly towards the end, to ensure they are golden but not overly browned.
Can I use frozen strawberries for the filling?
Yes, you can use frozen strawberries, but make sure to thaw and drain them first to remove excess moisture before mixing with sugar and cornstarch.
Conclusion
Making a strawberry Danish at home is not only rewarding but also a delicious way to celebrate fresh flavors. With its flaky pastry and sweet filling, this pastry embodies the joys of baking and sharing.
Don’t hesitate to experiment with different fruits or a touch of vanilla to make the recipe uniquely yours. Your kitchen will be filled with delightful aromas, and your guests will be eagerly anticipating this stunning pastry.
Recipe Card

Delicious Strawberry Danish for Your Delightful Brunch
Ingredients
- 2 cups all-purpose flour
- 1/2 cup unsalted butter cold and cubed
- 1 teaspoon salt
- 1 tablespoon sugar
- 1/4 cup cold water
- 1 cup fresh strawberries chopped
- 2 tablespoons sugar for filling
- 1 tablespoon cornstarch
- 1 egg beaten (for egg wash)
- Powdered sugar for dusting
Instructions
- Prepare the dough by mixing the flour, salt, and sugar in a bowl.
- Cut in the cold butter until the mixture resembles coarse crumbs.
- Gradually add cold water and stir until the dough holds together.
- While the dough chills, prepare the strawberry filling.
- Preheat your oven to 400°F (200°C).
- Roll out the dough into a large rectangle on a floured surface.
- Fold the dough into thirds, then refrigerate again for 20 minutes.
- Roll out the dough once more and cut into squares for shaping.
- Add strawberry filling in the center of each square and fold over corners.
- Brush each Danish with the beaten egg and bake for 15-20 minutes until golden.
- Let cool slightly, then dust with powdered sugar before serving.
Notes
Additional serving suggestions: pair with a crisp salad, garlic bread, or roasted seasonal vegetables for balance.
For make-ahead, prep components separately and assemble just before heating to preserve texture.
Taste and adjust with acid (lemon/vinegar) and salt right at the end to wake up flavors.